
Trim It Up
If you're looking for an affordable way to give your home a new look, painting the trims of doorways, windows, wainscoting, baseboards, and more can be a great solution. With the right tools and a little bit of know-how, you can easily transform your home's appearance. And don’t be afraid to try one of today’s bold on trend colours. In this blog post, we'll cover some tips for painting your trims to help you get started.
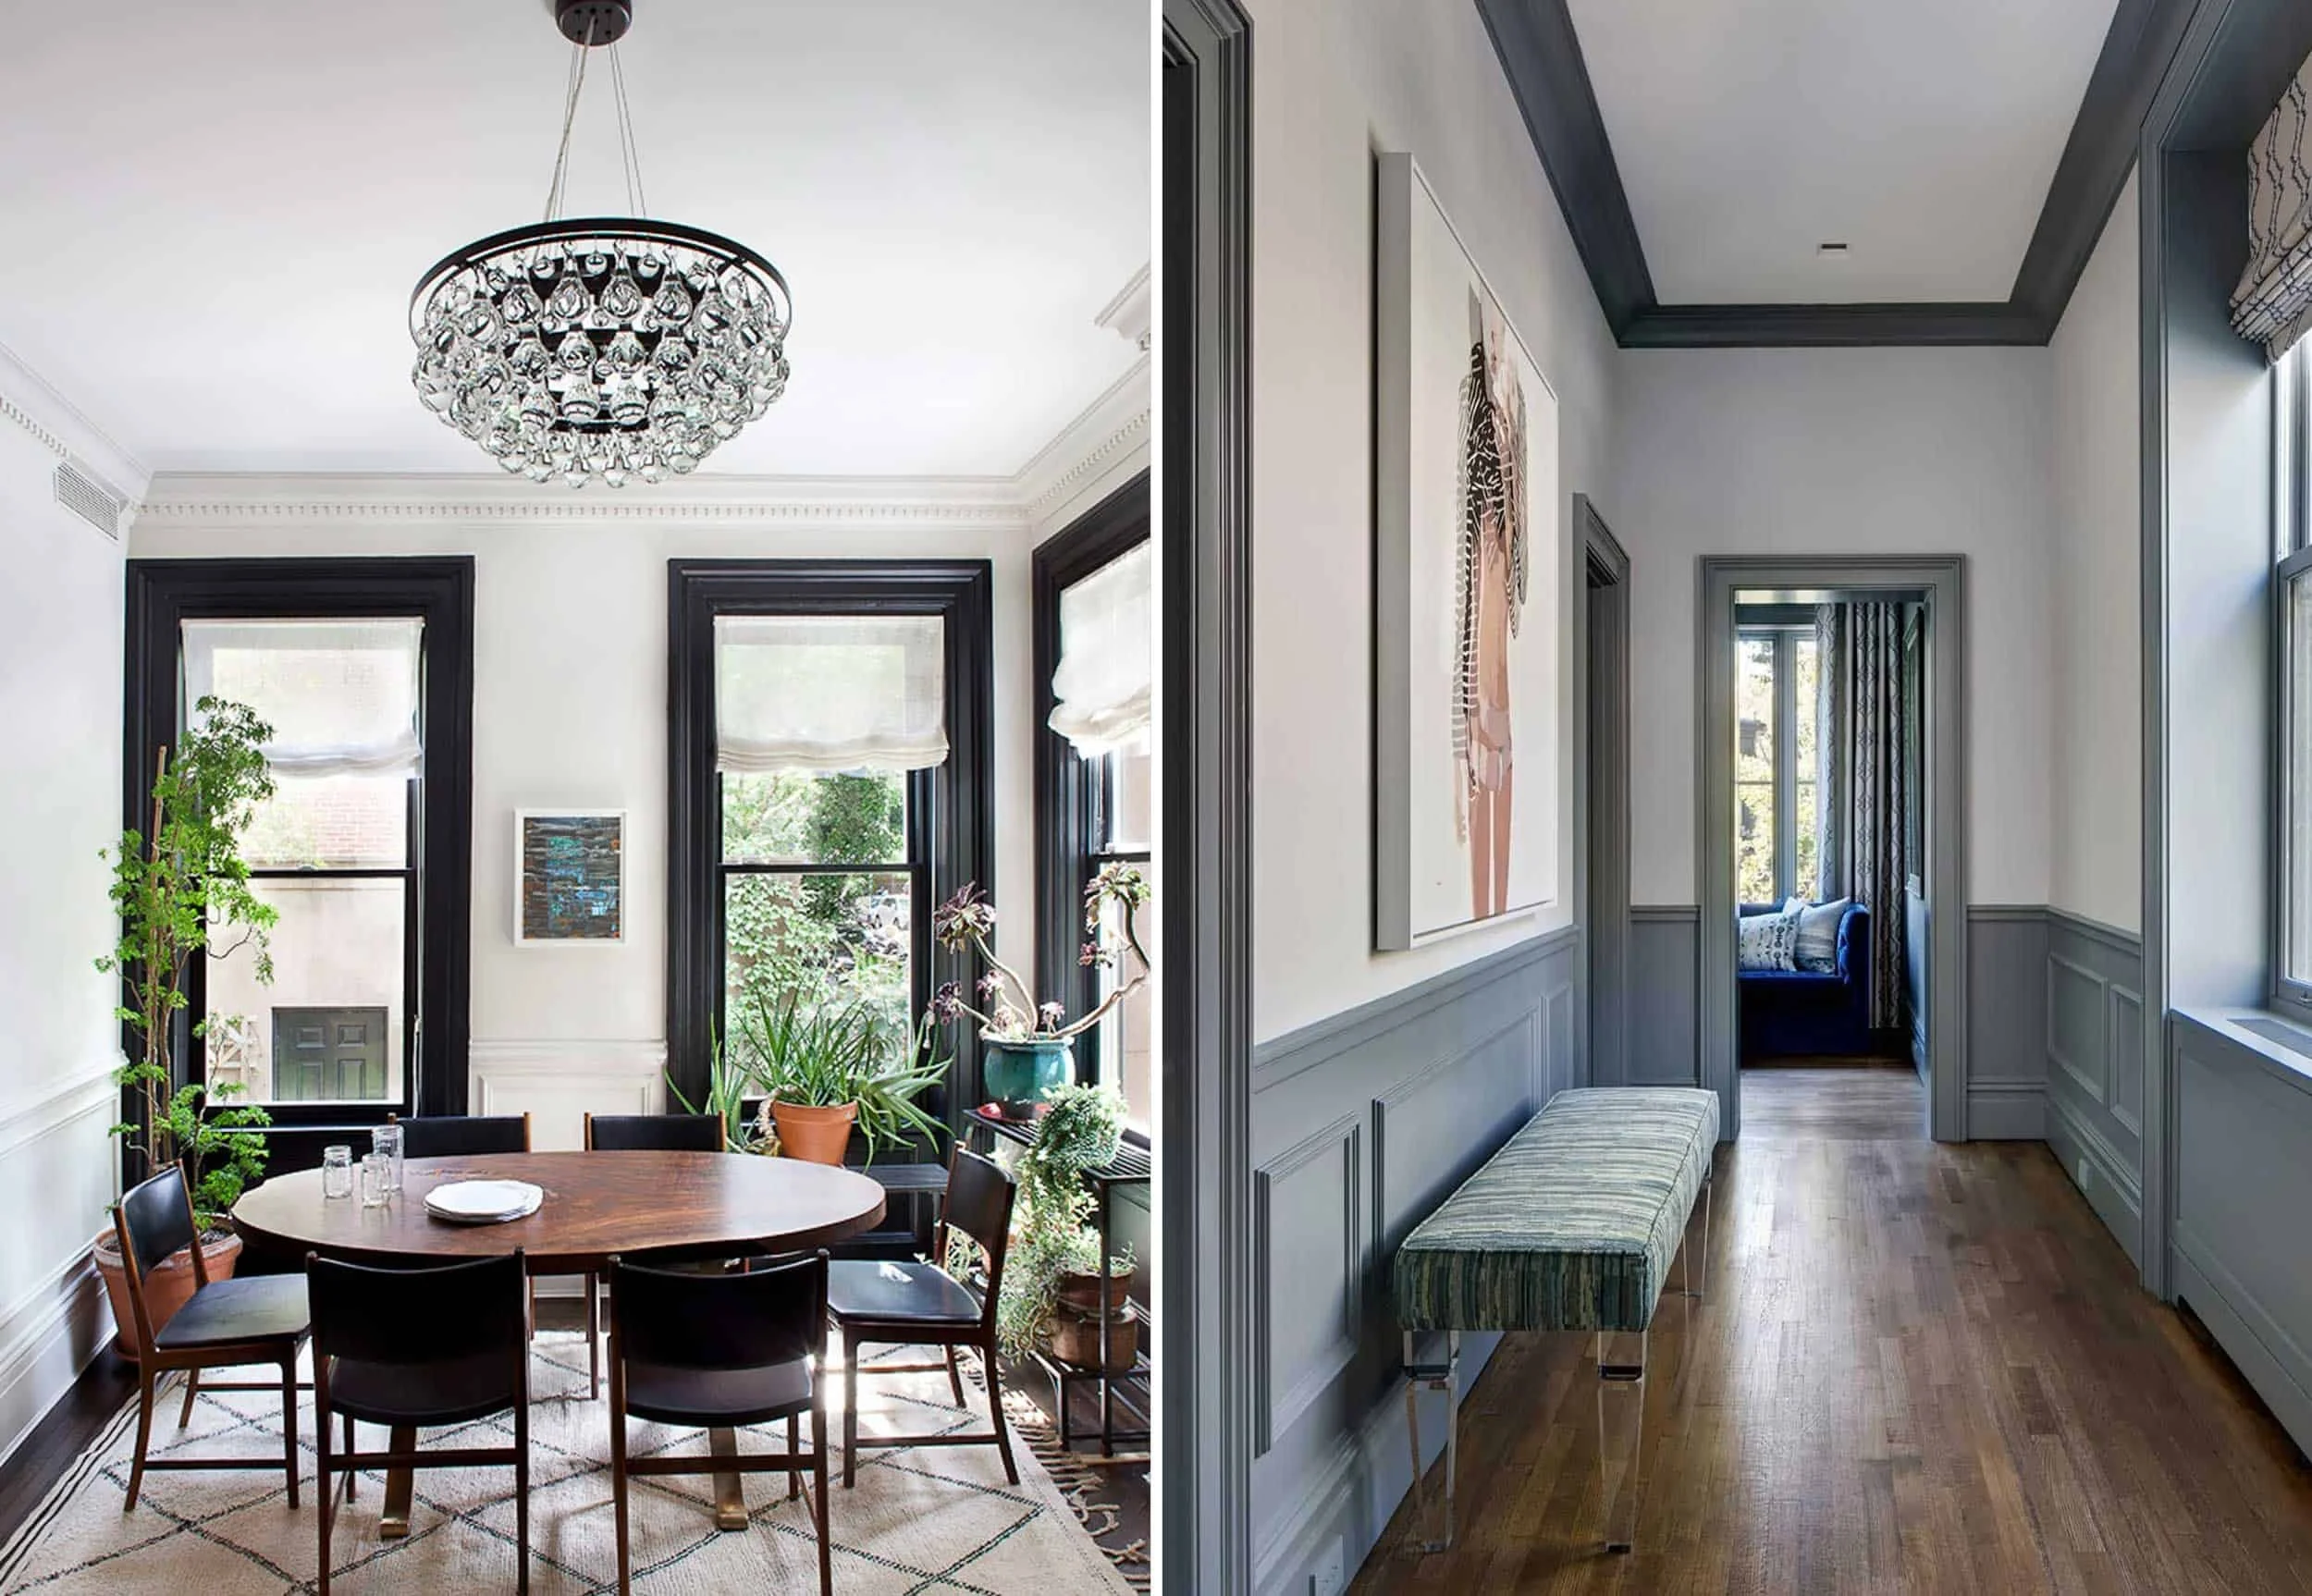
left: photo by jessica gylnn, design by blair harris, via hunker | right: design by cwb architects
1. Clean the surface
Before painting, it's important to make sure that the surface is clean and free from any dirt or debris. Use a solution of mild soap and water to clean the trims thoroughly. This will ensure that the paint adheres properly to the surface.
2. Sand the surface
To help the paint stick to the surface, it's a good idea to sand the trims lightly. Use a fine-grit sandpaper to avoid damaging the trims. Sanding will also help to create a rough surface that the paint can adhere to.
3. Protect the Surface
Using painters tape and a straight edge or level if needed tape out the all the edges of the trims you are painting to protect the surrounding areas from unwanted paint coverage. This may seem like a tedious time concuming step but will actually save you time and frustration in the end. You may even want to use plastic or cotton drop cloths to spare the flooring beneath your painting area as well. Plastic and cotton drop cloths are very inexpensive and even reusable.
4. Prime the surface
Using a high-quality primer will help the paint to stick to the trims and will also provide a smooth and even finish. Make sure to choose a primer that is compatible with your chosen paint. It really is best to use the same brand on this one. Apply the primer evenly using a brush or roller, and allow it to dry completely before applying the paint.
5. Choose the right paint
Selecting the right paint is key to achieving a professional-looking finish. A semi-gloss or high-gloss paint will provide a durable and easy-to-clean surface. You can use oil-based or latex-based paint depending on your preference. Oil based paint does tend to be more durable and stain resistant than latex. Have fun choosing colours since you are not painting a whole wall or entire surface only a portion of it.
5. Apply the paint
Apply the paint evenly and carefully using a brush or roller. Start with the edges and work your way inwards. Use long, even strokes and avoid overloading the brush or roller. Apply a second coat once the first coat has dried completely.
6. Allow time to dry
Allow the paint to dry completely before adding a second coat. Check the manufacturer's instructions for the recommended drying time. This will ensure that the paint has cured properly and will provide a durable finish.
7. Finishing touches
Once the paint has dried, remove any tape or masking that you used to protect the surrounding areas. Touch up any areas that may need extra attention. This will help to ensure that the finish looks clean and professional.


In conclusion, painting your trims can be a great way to freshen up the look of your home. With proper preparation and the right tools, you can achieve a professional-looking finish. By following these tips, you'll be well on your way to transforming your home's appearance.